


Step by Step Car Interior Cleaning for a Spotless Cabin

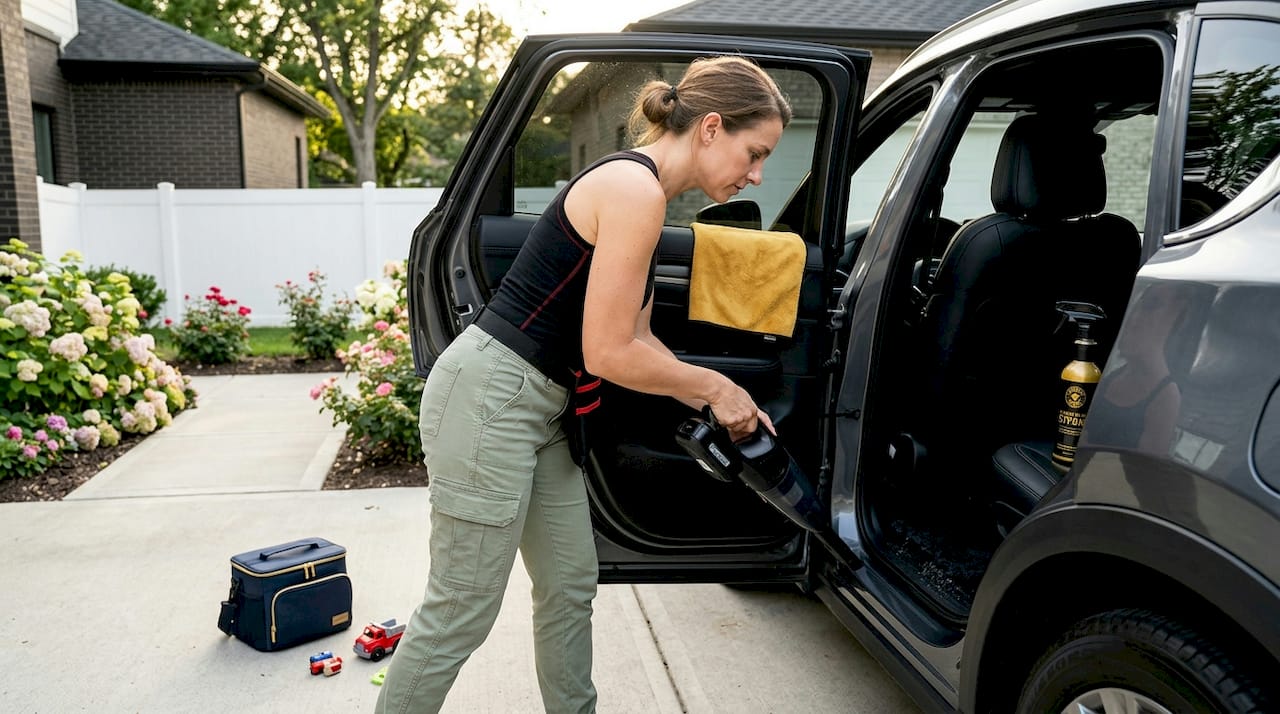
A dirty car interior does more than look bad. It traps allergens, wears down upholstery, and quietly chips away at your vehicle’s resale value. Whether you’re dealing with crumbs in the seat seams, a dusty dashboard, or mystery smells from last month’s road trip, the right step by step car interior cleaning process makes the whole job manageable. Auto detailing professionals call this process an interior detail, and when done correctly, it transforms your cabin completely. This guide walks you through every phase, from prep to final inspection, with zero guesswork involved.
Table of Contents
Key takeaways
Point | Details |
Prep before you clean | Remove all belongings and floor mats before touching a vacuum or cleaner. |
Vacuum first, always | Applying liquid to a dirty surface smears debris into residue and doubles your work. |
Match products to materials | Leather, fabric, and vinyl each need different cleaners to avoid damage or discoloration. |
Dry thoroughly | Air dry mats and carpets completely before reinstalling to prevent mold and odor buildup. |
Clean every 3 to 6 months | Deep cleans on this schedule, plus weekly wipe-downs, keep your interior in top condition. |
Step by step car interior cleaning: what you need first
Good results start long before you pick up a vacuum. Skipping preparation increases cleaning time and reduces quality every single time. Get this phase right and the rest of the process flows without interruption.
Tools and supplies to gather
Item | Purpose |
Vacuum with attachments | Remove loose dirt, debris, and dust from all surfaces |
Microfiber cloths (at least 6) | Wipe and buff surfaces without scratching |
Soft-bristle detailing brushes | Loosen dirt from vents, seams, and textured panels |
All-purpose interior cleaner | Safe for dashboards, door panels, and consoles |
Fabric or carpet shampoo | Deep clean upholstery, mats, and carpeted floors |
Leather cleaner and conditioner | Clean and protect leather seats without drying them out |
Glass cleaner | Streak-free finish on all interior windows |
Upholstery protectant spray | Extends cleanliness between deep cleans |
Empty every storage pocket, the glove box, center console, and door pockets completely
Remove all floor mats and take them outside
Throw away all trash before moving to the next step
Park in a shaded spot with doors open for ventilation
Pro Tip: Lay your tools out in order of use before starting. Stopping mid-clean to hunt for a brush or cleaner breaks your workflow and extends your total time significantly.
The cleaning order matters for thoroughness. Clearing out the clutter exposes every dirt trap, from under the seats to inside the cup holders, so nothing gets missed when you move to vacuuming.
Vacuuming and debris removal
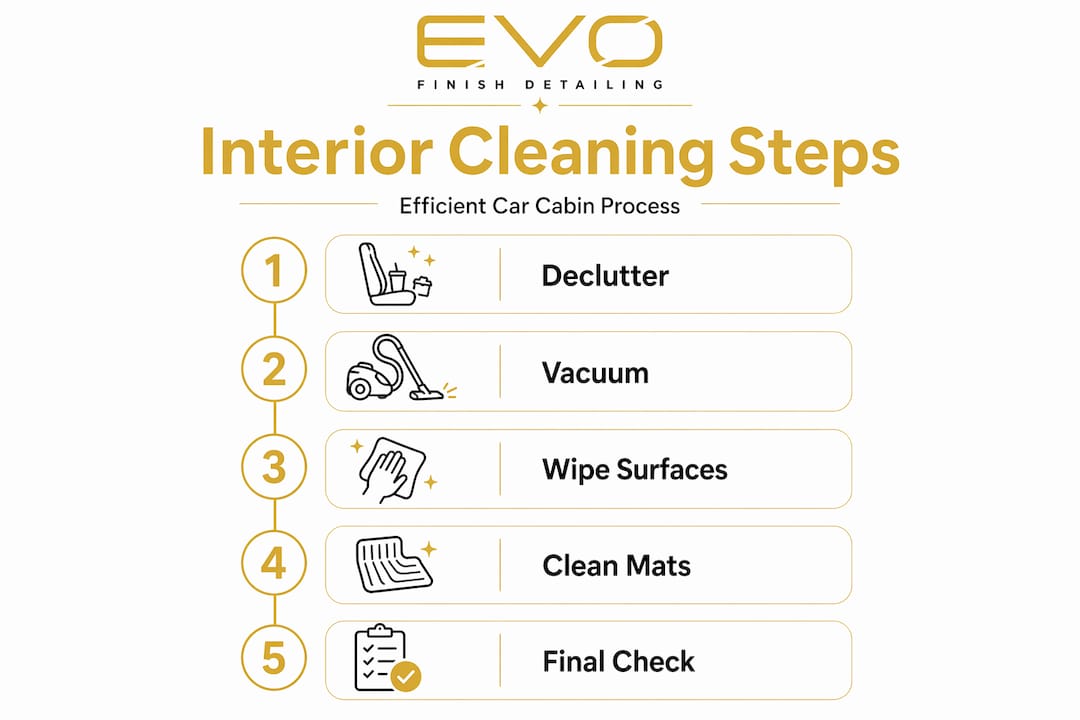
Vacuuming is the single most important step in the entire interior detailing process. Applying liquid cleaner over a dirty surface turns loose debris into a gritty paste that is far harder to remove. Do this first, every time.
Follow this sequence for methodical, top-to-bottom coverage:
Headliner. Use a low-suction setting and a soft upholstery attachment. Work in straight passes to avoid pulling at the fabric.
Sun visors and overhead handles. Vacuum briefly and brush away any dust with a detailing brush.
Dashboard and instrument cluster. Use a crevice tool along the base of the windshield and around the vents.
Door panels. Work from the top armrest down to the bottom storage pocket. Brush between seams first.
Seats. Use the upholstery attachment and work front to back. Push seats forward to expose the rail tracks and the carpet underneath.
Center console. Get into the cup holder recesses and between the seat and console gap with your crevice tool.
Carpet and floor. Move front to back, overlapping each pass to catch every particle.
Floor mats. Shake them outdoors first, then vacuum both sides before setting aside for washing.
Trunk or cargo area. Lift the mat if removable and vacuum the liner underneath.
Pro Tip: Run a soft detailing brush across the dashboard vents, seat seams, and carpet edges before vacuuming each zone. This loosens embedded dust so the vacuum actually picks it up instead of pushing it around.
A common mistake is skipping the area under the seats. This is where most of the hidden grime accumulates. Slide the front seats all the way forward and back to expose the full length of the rails. For the best possible result, you can also check out this interior detailing checklist to make sure nothing gets skipped.
Cleaning each interior surface properly
This is where the detail work happens. Each surface material requires a specific approach. Using the wrong product or too much moisture causes discoloration, staining, or permanent damage. Always test cleaners in a hidden area before applying them to visible surfaces.
Headliner
The headliner is the most delicate surface in your car. Too much moisture weakens the adhesive bonding the fabric to the board, causing permanent sagging. Use a lightly damp microfiber cloth with minimal upholstery spray. Dab, never scrub. Work in the direction of the fabric grain only.
Dashboard, console, and door panels
Spray your all-purpose interior cleaner onto a microfiber cloth, not directly onto the surface. Wipe in circular motions across the dashboard, paying close attention to the area around buttons and knobs where grime concentrates. Use a detailing brush to work cleaner into textured surfaces and vents, then wipe clean with a dry cloth.
Cup holders often harbor sticky bacterial residue. If yours are removable, soak them in warm soapy water and scrub with a small brush. If they’re fixed, wrap a damp cloth around a pen or brush handle to get into the curved bottom.
Seat cleaning by material
Fabric seats: Spray fabric shampoo onto the seat, agitate with a soft brush in circular motions, then blot firmly with a clean microfiber towel. Do not saturate. Repeat for stains until lifted.
Leather seats: Use a dedicated leather cleaner and work it in with a soft cloth. Follow immediately with a leather conditioner to prevent cracking. Skip any product containing alcohol or bleach.
Vinyl seats: An all-purpose cleaner works well here. Wipe down thoroughly and follow with a UV protectant to prevent fading.
Carpets and floor mats
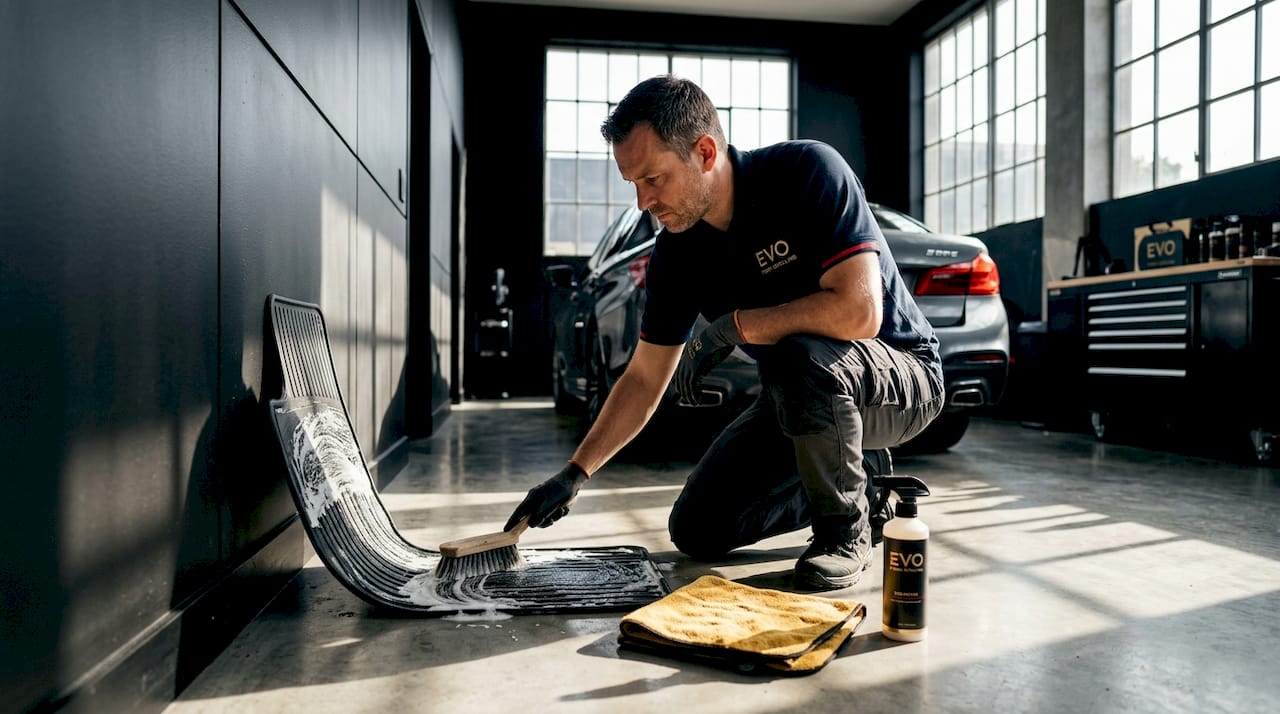
Apply carpet shampoo, agitate with a stiff brush, and blot up the foam with a microfiber towel. Shake floor mats outside first, then scrub and rinse them separately. Set them aside to dry completely before they go back in the car. For a full breakdown of why this step matters, see why deep cleaning car carpets protects both your health and your vehicle’s value.
High-touch areas
The steering wheel, gear shift, door handles, and seat belt buckles collect more bacteria per square inch than almost any other surface. Wipe these down with an interior cleaner and a fresh microfiber cloth. If you have a leather-wrapped steering wheel, use the leather cleaner here as well.
Drying, protection, and final inspection
Wet surfaces left unattended become mold and odor problems fast. After cleaning fabrics and carpets, open all doors and let airflow do the work. In humid conditions, a small fan directed at the carpet significantly shortens drying time. Never reinstall wet floor mats.
Apply a fabric protectant spray to seats and carpet once fully dry to repel future spills
Use a leather conditioner on all leather surfaces as a final step
Spray a light mist of enzymatic odor eliminator to address any lingering smells. Baking soda left overnight in the cabin also absorbs odor effectively before vacuuming out the next morning
Clean all interior glass with a dedicated glass cleaner and two microfiber cloths. Use one to apply, one to buff dry for a streak-free finish
A final pass with clean microfiber towels removes any product residue and leaves every surface looking sharp
Pro Tip: Lightly mist interior surfaces with a 50/50 mix of water and white vinegar to neutralize odors without leaving a chemical smell. Let it air dry with the windows open.
For maintenance, deep clean every 3 to 6 months and do a quick vacuum and wipe-down weekly. If you regularly transport kids or pets, move to monthly deep cleans. Consistent maintenance is far easier than recovering from months of neglect.
Troubleshooting and expert efficiency tips
Even with the right process, a few problems come up repeatedly. Knowing how to handle them saves time and protects your interior.
Stubborn stains on fabric: Mix one part dish soap with two parts hydrogen peroxide, apply to the stain, let sit for five minutes, then blot firmly. Test this mix first in a hidden spot.
Overwetting carpets and seats: If you’ve applied too much liquid, press dry towels firmly into the surface and add weight on top. A fan speeds moisture removal considerably.
Smeared cleaner on screens: Never spray directly on touchscreens or infotainment displays. Spray the cloth, then wipe gently with minimal pressure.
Dirt re-embedding after cleaning: This happens when you skip the second vacuum pass. Vacuum twice per session, once before wet cleaning and once after, to pull loosened debris from vents and seams.
White residue after carpet shampoo dries: You used too much product. Dampen the area lightly with clean water, agitate, and blot dry. Use less shampoo next time.
Pro Tip: Work one zone completely before moving to the next. Finishing the driver’s side door panel fully before touching the passenger side keeps your process clean and prevents spreading dirt back across already-cleaned surfaces.
For those who want to go deeper on car care fundamentals, this car care guide for new drivers covers maintenance habits that complement a regular interior cleaning routine. And if resale value is on your mind, regular cleaning has a measurable impact on your car’s resale value when it comes time to sell.
What I’ve learned from years of precision detailing
I’ve detailed hundreds of vehicles, and the pattern is consistent. The cars that come in looking the worst almost never have a harder-to-remove mess than a car that was neglected for six months. The difference is always in the approach, not the products.
The biggest mistake I see from people who attempt this at home is rushing the vacuum phase. They spend ten minutes on prep and then wonder why their carpet still looks dull after shampooing. Loose grit left in the pile acts like sandpaper during scrubbing and redeposits as a gray haze when the shampoo dries.
The second lesson I’ve learned is to respect moisture. The headliner will forgive a lot of things, but saturation is not one of them. Once that adhesive weakens, there’s no reliable fix short of full replacement. A barely-damp cloth is genuinely all you need.
What I find most rewarding about a thorough interior detail is that the results last. A car cleaned this way, with protectants applied and floors properly dried, stays noticeably cleaner for months. That is not luck. It is the product of doing each step in the right order with the right materials.
Treat the process like structured care, not a chore. Your car holds its value better, your drives are more pleasant, and you never have to apologize for someone sitting in the back seat.
— EVO
Let Evofinish handle the detail for you
Sometimes the time, tools, or inclination just aren’t there, and that’s exactly what Evofinish exists for. We bring precision detailing directly to your location, so your car gets a meticulous interior clean without you rearranging your schedule. Our interior detailing process covers every surface, every seam, and every high-touch area with the right products for each material. We also offer ceramic coating and paint correction for full vehicle protection. Whether you need a one-time deep clean or want to set up recurring service, book your detail online in minutes. Guaranteed satisfaction, every time. WE COME TO YOU.
FAQ
What is the correct order for cleaning a car interior?
Start by removing all items and floor mats, then vacuum from the top down before applying any liquid cleaners to surfaces. Finish with drying, protection, and a final wipe-down.
Why should you vacuum before using any cleaning products?
Applying cleaner to a surface with loose debris turns dirt into a smeared residue that is harder to remove than the original mess. Vacuum first to get a clean surface to work with.
How often should you deep clean your car interior?
Deep clean every 3 to 6 months for most drivers, and more frequently if you regularly have kids or pets in the vehicle. Weekly vacuuming and wipe-downs reduce buildup between deep cleans.
Is it safe to use the same cleaner on all interior surfaces?
No. Leather, fabric, vinyl, and screens each respond differently to cleaners. Always test products in an inconspicuous area before full application to avoid discoloration or damage.
How do you prevent mold after cleaning car carpets?
Air dry carpets and floor mats fully with doors open and airflow directed at wet areas before reinstalling anything. Never put damp mats back into the car, as enclosed moisture creates mold and persistent odor within days.
Recommended
Comments