


How to Shampoo Car Seats: Material-Specific Guide

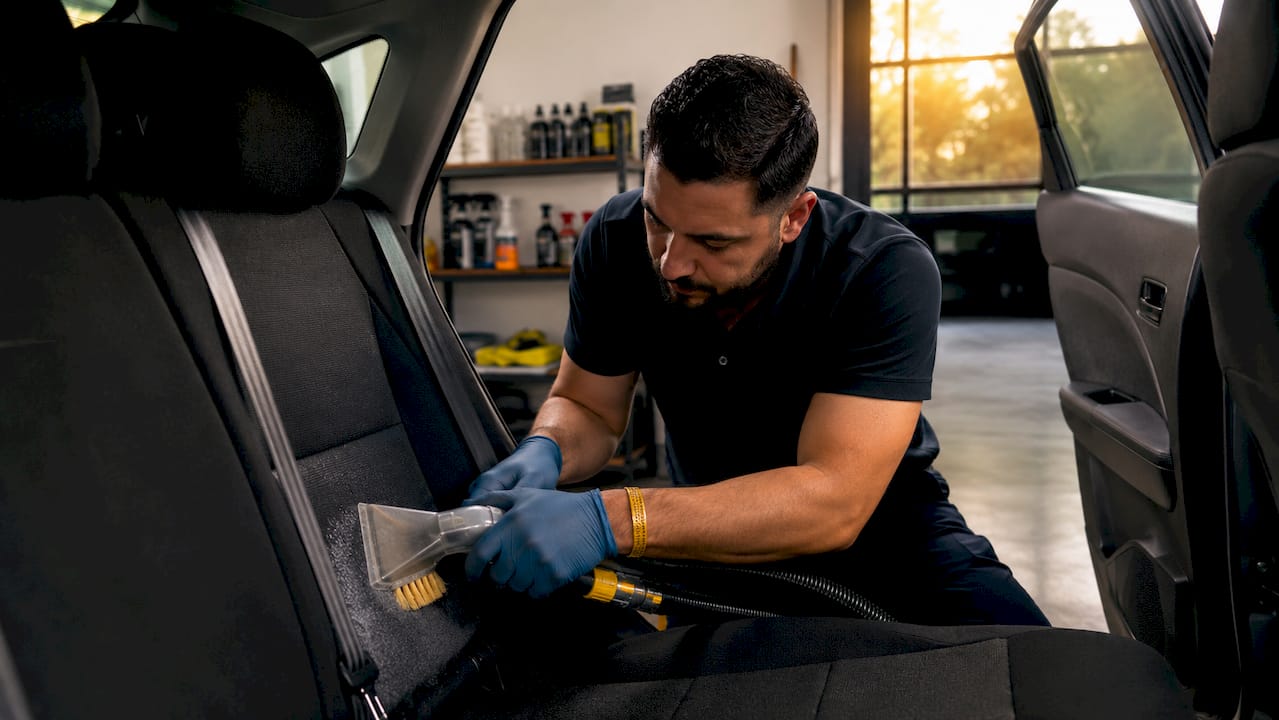
Shampooing car seats is the process of deep-cleaning automotive upholstery using specialized cleaners and agitation techniques to remove embedded dirt, stains, and odors without damaging the fabric. The correct approach depends entirely on seat material. Cloth, leather, and vinyl each require a different automotive upholstery cleaner, different agitation pressure, and different moisture control. Get the match wrong and you risk discoloration, residue buildup, or worse, mold growing inside the foam. This guide covers the exact tools, material-specific products, step-by-step cleaning process, and drying best practices you need to get professional results at home.
What tools and products do you need to shampoo car seats effectively?
The right equipment makes or breaks the result. Before you apply a single drop of cleaner, you need a vacuum with both an upholstery attachment and a crevice tool, a set of soft-bristle brushes in two sizes, a stack of clean microfiber cloths, and a spray bottle for controlled application. For deeper cleaning, a portable extraction machine like the Bissell Little Green is the single most effective tool a car owner can own. It sprays solution and suctions it back out in one pass, pulling dirt out of the foam rather than just pushing it around.
Product selection is where most people go wrong. Leather, fabric, and vinyl seats each require different cleaner types, and using the wrong one causes discoloration or fabric damage. For cloth seats, use a dedicated upholstery shampoo like Chemical Guys Fabric Clean or Meguiar’s Carpet and Upholstery Cleaner. For leather, use a pH-balanced leather cleaner such as Leather Honey or Chemical Guys Leather Cleaner, always followed by a conditioner. For vinyl, a diluted all-purpose cleaner works well without stripping the surface.
Seat Material | Recommended Cleaner | Key Tool |
Cloth / Fabric | Chemical Guys Fabric Clean, Meguiar’s Upholstery Cleaner | Bissell Little Green, soft brush |
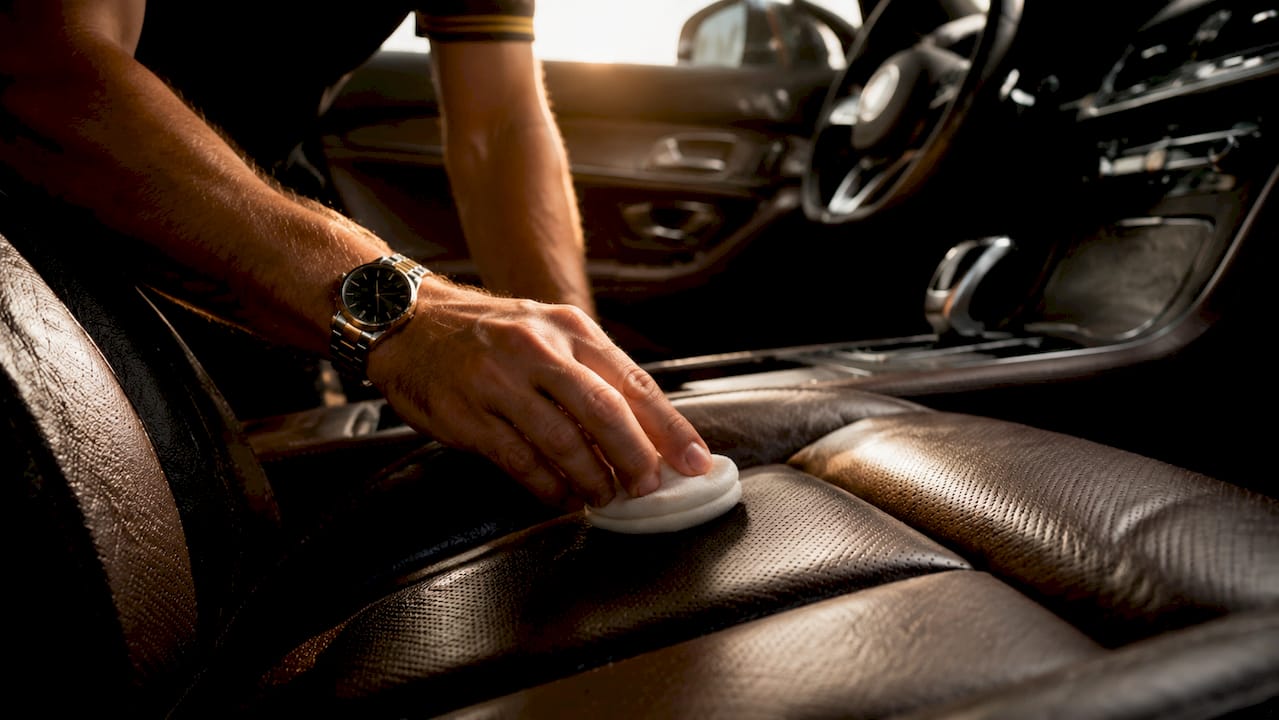
Leather | Leather Honey, Chemical Guys Leather Cleaner + conditioner | Microfiber cloth, soft brush |
Vinyl | Diluted all-purpose cleaner | Microfiber cloth, crevice vacuum |
Always do a patch test on a hidden area, such as the underside of the seat or the back lower panel, before applying any product to visible surfaces. This takes 60 seconds and prevents permanent damage.
Pro Tip: Commercial upholstery cleaners formulated for specific seat materials outperform DIY mixtures like baking soda paste or shaving cream every time. Homemade concoctions leave unpredictable residues and can complicate the cleaning process significantly.
How do you prepare car seats before shampooing?
Preparation is not optional. Skipping it guarantees a worse result, no matter how good your cleaner is. The goal of prep is to remove all loose debris before any liquid touches the fabric, protect surrounding surfaces, and identify problem areas before you start.
Follow these steps in order:
Remove floor mats and any loose items from the vehicle so you have full access to every seat surface.
Vacuum thoroughly using the upholstery attachment across all seat surfaces, then switch to the crevice tool for seams, seat-back pockets, and the gap between the seat cushion and backrest. Vacuuming before shampooing prevents loose grit from being rubbed into the fabric during agitation, which causes premature wear.
Inspect for stains and note their location and type. Grease stains, food stains, and ink each respond to different pre-treatments.
Patch test your chosen cleaner on an inconspicuous spot and wait 5 minutes to check for discoloration or texture change.
Protect surrounding surfaces by draping a microfiber towel over the door sill and dashboard edge to catch any overspray.
Check seat features before applying moisture. If your seats have built-in heating elements or side airbags, avoid saturating the side bolsters and keep moisture away from the seat base where electronics sit.
This prep sequence takes about 10 minutes per seat. It is the difference between a clean result and a damaged one.
What is the step-by-step process to shampoo car seats properly?
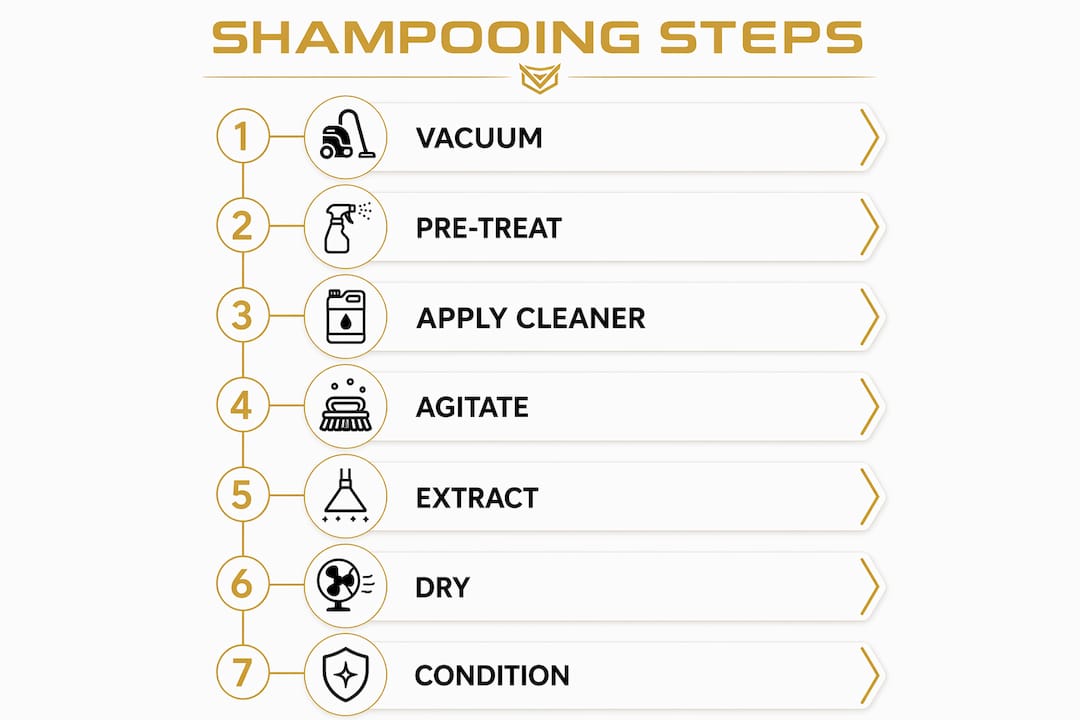
The professional method for cleaning car upholstery follows a spray, agitate, and extract cycle. Each phase has a specific purpose, and rushing any one of them produces poor results.
Divide the seat into sections. Work on an area roughly the size of your hand at a time. This keeps moisture controlled and prevents the cleaner from drying before you extract it.
Apply cleaner sparingly. Spray the solution onto the seat or onto your brush, not directly onto the foam in large amounts. The cloth should be damp, not soaked. Over-concentration of shampoo leaves sticky residue that attracts dirt faster than before you cleaned.
Agitate with a soft brush using gentle circular motions. This loosens embedded dirt from the fibers without damaging them. For leather, use a softer cloth rather than a brush to avoid scratching the surface.
Blot immediately with a clean microfiber cloth. Press firmly and lift straight up. Do not scrub side to side. Gentle blotting prevents pushing dirt deeper into the seat fibers and protects the fabric structure.
Extract with a machine if available. Run the Bissell Little Green or a similar wet-vac extractor over the section immediately after agitation. Repeat extraction passes until the water running back into the tank appears clear. This step removes soapy residue that causes rapid re-soiling.
Move to the next section and repeat. Work from the top of the seat back down to the cushion so dirty runoff does not contaminate areas you have already cleaned.
Material-specific notes: Leather seats need a conditioner applied after cleaning to restore moisture lost during the process. Use a product like Leather Honey Conditioner and buff it in with a clean microfiber cloth. Vinyl seats dry faster and rarely need conditioning, but a UV protectant spray extends their lifespan noticeably.
Pro Tip: Controlling moisture section by section avoids uneven dye patches and streaking on fabric seats. Never flood an entire seat at once. Small sections, immediate extraction, consistent pressure.
How should you dry and maintain car seats after shampooing?
Drying is where most DIY cleaning jobs fail. Seats that stay damp for more than a few hours develop mold inside the foam, and that odor is extremely difficult to remove after the fact.
Follow these drying and maintenance practices:
Blot aggressively immediately after cleaning. Press dry microfiber towels firmly into the seat and replace them as they saturate. The more moisture you remove manually, the faster the seat dries.
Open all four doors and leave the vehicle in a well-ventilated area. If you have access to a portable fan, position it to blow directly across the seat surface. Air-drying with ventilation prevents watermarks and mildew from forming.
Expect drying times to vary. Thin vinyl dries in 1 to 2 hours. Dense cloth upholstery can take 4 to 8 hours depending on humidity and airflow. Leather falls in between but should never be left in direct sunlight to dry, as heat causes cracking.
Do not sit on seats until fully dry. Sitting on damp upholstery compresses the fibers and can cause permanent indentations or uneven texture.
Vacuum seats weekly to prevent dirt buildup between deep cleans. Regular vacuuming is the single most effective maintenance habit for extending the life of your upholstery.
Spot clean spills immediately. Blot liquid spills within the first 60 seconds before they penetrate the foam. A quick spray of upholstery cleaner and a blot prevents most stains from setting permanently.
Condition leather every 3 months using a product like Leather Honey or Chemical Guys Leather Conditioner. This prevents cracking and keeps the surface supple.
What are common mistakes and troubleshooting tips when shampooing car seats?
Even experienced car owners make these errors. Knowing them in advance saves you time and protects your upholstery.
Over-wetting is the most damaging mistake. Leaving seats damp promotes mold growth inside the foam and creates persistent odors that no amount of air freshener will fix. Use less solution than you think you need.
Using harsh household cleaners like bleach, all-purpose kitchen sprays, or laundry detergent causes discoloration and breaks down fabric fibers over time. These products are not pH-balanced for automotive upholstery and leave residues that attract more dirt.
Skipping the vacuum step is a guaranteed way to grind grit into the fabric during agitation. The abrasive particles act like sandpaper against the fibers. Vacuuming as a mandatory first step is not optional, it is the foundation of effective extraction cleaning.
Skipping extraction or blotting leaves soapy residue in the fabric. That residue makes seats feel sticky and causes them to re-soil within days. Thorough rinsing and multiple extraction passes are the only way to prevent this.
Problem | Likely Cause | Fix |
Sticky fabric after cleaning | Shampoo residue not fully extracted | Re-extract with clean water, multiple passes |
Watermarks or tide lines | Uneven moisture application | Re-dampen the area evenly and extract uniformly |
Mold or mildew odor | Seats dried too slowly | Use a fan, apply an enzyme-based odor eliminator |
Discoloration or fading | Wrong cleaner for material | Patch test first, switch to material-specific product |
Stain returned after drying | Wicking from foam below | Re-extract deeper, use a wet-vac with stronger suction |
For stubborn odors after shampooing, an enzyme-based cleaner like Biokleen Bac-Out breaks down organic matter at the source rather than masking it. Apply, let it dwell for 10 minutes, then extract.
Key takeaways
Effective upholstery shampooing requires matching your cleaner to the seat material, controlling moisture section by section, and extracting thoroughly to prevent residue and mold.
Point | Details |
Match cleaner to material | Use fabric cleaner for cloth, leather cleaner plus conditioner for leather, and diluted APC for vinyl. |
Vacuum before everything | Remove all loose debris first so agitation cleans fibers instead of grinding grit into them. |
Control moisture tightly | Work in small sections, keep fabric damp not soaked, and extract immediately after agitation. |
Extract until water runs clear | Multiple passes with a Bissell Little Green or wet-vac prevent sticky residue and rapid re-soiling. |
Dry with ventilation | Open doors, run a fan, and allow full drying before sitting on seats to prevent mold and watermarks. |
What we’ve learned from years of detailing car interiors
The single biggest gap between a mediocre clean and a genuinely restored interior is patience with moisture control. Most car owners apply too much solution, scrub too hard, and then wonder why their seats smell musty two days later. The foam inside automotive seating acts like a sponge. Once it is saturated, it holds moisture for hours, and that is exactly when mold takes hold.
We have also seen how material-specific care extends upholstery lifespan in ways that generic cleaning simply cannot match. Leather that gets conditioned regularly after cleaning stays supple for years. Leather that gets cleaned with the wrong product and left to dry in the sun starts cracking within months. The difference is not dramatic effort. It is the right product applied correctly.
On the DIY versus professional extractor question, the answer is clear. A portable extractor like the Bissell Little Green is worth owning if you clean your interior more than twice a year. Manual blotting alone cannot pull moisture and residue out of dense foam the way a machine does. For car owners who want professional-level results without the machine investment, booking a mobile detailing service is the most practical path to a genuinely clean interior.
One more thing: skip the homemade cleaner recipes. Shaving cream, dish soap, and baking soda mixtures are unpredictable on automotive fabrics. Tested commercial products like Chemical Guys Fabric Clean exist precisely because the chemistry matters.
— EVO
Let Evofinish handle the deep clean for you
When the stains are stubborn, the odors persistent, or you simply want the job done right the first time, Evofinish delivers professional mobile auto detailing directly to your location. Our interior shampooing service covers car upholstery cleaning with material-specific products, professional extraction equipment, and meticulous attention to every seam and surface. We also offer ceramic coating and paint correction to protect your vehicle inside and out. No shop visit required. Guaranteed satisfaction on every detail. Book your detail today and let us restore your interior to its best condition.
FAQ
What is the best shampoo for car seats?
The best shampoo depends on seat material. Chemical Guys Fabric Clean works well for cloth seats, while Leather Honey Cleaner is the top choice for leather. Always match the product to the upholstery type to avoid discoloration.
How do you wash car seats without soaking them?
Apply cleaner in small sections using a spray bottle, keeping the fabric damp but not saturated. Agitate gently with a soft brush, then blot or extract immediately to remove moisture before moving to the next section.
How long do car seats take to dry after shampooing?
Vinyl seats dry in 1 to 2 hours with good ventilation. Dense cloth upholstery typically takes 4 to 8 hours. Open all doors and use a fan to speed drying and prevent mold from forming inside the foam.
Can you use a steam cleaner on car seats?
Steam cleaners are generally safe for durable fabrics but can damage leather or vinyl. Always check your vehicle manufacturer’s recommendations before using steam on any automotive upholstery.
Why do car seats smell after shampooing?
Odor after shampooing almost always means the seats were not dried quickly enough, allowing mold to grow inside the foam. Apply an enzyme-based cleaner like Biokleen Bac-Out, extract thoroughly, and dry with maximum ventilation to eliminate the source.
Recommended
Comments