


Premium auto cleaning steps: A car enthusiast's guide

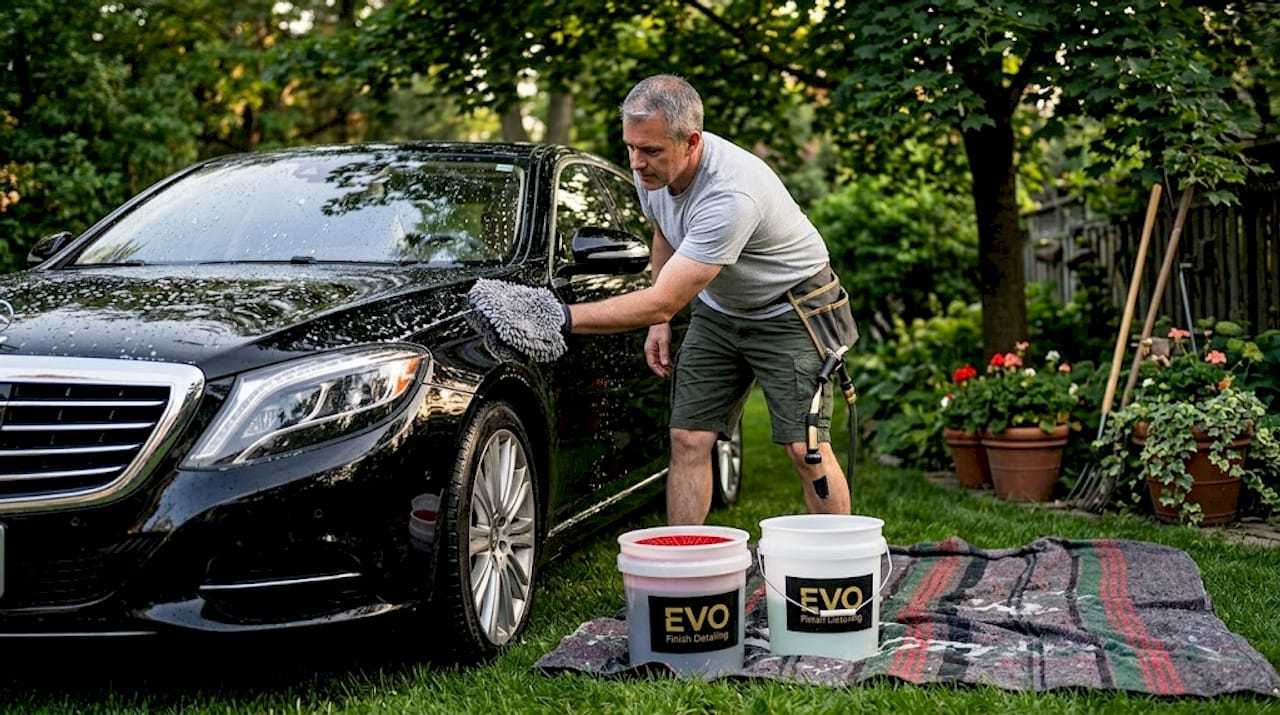
If you take pride in your vehicle’s appearance, you already know that a basic car wash falls far short of what a well-maintained machine deserves. Following the right premium auto cleaning steps is the difference between a car that looks clean and one that looks genuinely cared for. This guide covers every phase of the detailing process, from gathering the right tools to applying a final coat of wax, so you can protect your vehicle’s finish, preserve its value, and drive with the kind of confidence that comes from knowing every surface is done right.
Table of Contents
Safe hand washing: The foundation of premium exterior cleaning
Paint decontamination: Removing embedded contaminants chemically and mechanically
Interior cleaning: Methodical top-to-bottom detailing for a premium cabin finish
Waxing and paint protection: Final steps to preserve premium finish
Why many enthusiasts underestimate chemical decontamination and what actually works
Elevate your auto care with Evo Finish mobile detailing services
Key Takeaways
Point | Details |
Use proper tools | Gather all premium cleaning tools like grit guards, clay bars, and pH-neutral soaps before starting. |
Master hand washing | Wash in shade with correct motion and separate sponges to protect your paint’s finish. |
Chemical then mechanical | Use iron fallout remover before clay bars to effectively decontaminate paint. |
Interior detail order | Clean top-to-bottom, dusting, then surfaces, fabric or leather, finishing with glass for lasting results. |
Wax at right time | Apply wax on cool, shaded paint sections and buff promptly to avoid streaks or residue. |
Essential tools and products for premium auto cleaning
Before diving into the cleaning process, gather all the right tools and products to ensure flawless results. Walking through a detail without the correct supplies leads to shortcuts that show up in the finish.
Here is what you need before you start:
pH-neutral car shampoo: Harsh dish soaps strip protective coatings. A pH-neutral formula cleans without damaging wax or ceramic coating.
Two buckets with grit guards: One for soapy water, one for rinsing your mitt. Grit guards trap dirt at the bottom so you are not dragging it back across the paint.
Microfiber wash mitt and towels: These are non-negotiable. Terry cloth and sponges create swirl marks on clear coats.
Iron fallout remover: A dedicated chemical that dissolves embedded metallic particles (brake dust, rail dust) from paint surfaces.
Clay bar or clay mitt: Mechanically removes bonded contaminants the iron remover loosens or leaves behind.
Dedicated wheel cleaner: Formulated for your wheel material, whether alloy, chrome, or painted.
Leather cleaner and foam applicator: For interiors with leather or vinyl surfaces.
Car wax or paint sealant: The final protective layer over clean, decontaminated paint.
Product category | Recommended type | What to avoid |
Wash soap | pH-neutral car shampoo | Dish soap, all-purpose cleaner |
Drying tool | Microfiber waffle towel | Terry cloth, chamois with texture |
Paint decontamination | Iron remover plus clay bar | Skipping one step |
Wheel care | Material-specific wheel cleaner | Acidic cleaners on alloy |
Interior surfaces | Dedicated leather/fabric cleaner | Multi-surface household spray |
Pro Tip: Buy two separate sets of microfiber towels, one for exterior paint and one for interior surfaces. Cross-using them transfers paint contaminants to leather and vinyl, causing premature wear.
Safe hand washing: The foundation of premium exterior cleaning
With tools in hand, mastering the correct hand washing method is the next crucial step in the high-end car detailing process.
Park in the shade. Heat causes soap to dry on the surface before you rinse it, leaving water spots and mineral deposits that are difficult to remove.
Rinse the entire vehicle first. A pre-rinse loosens loose dirt and prevents it from being dragged across the paint during washing.
Fill both buckets. Soapy water in one, clean rinse water in the other. Always dip your mitt in the rinse bucket before going back to the soap.
Work top to bottom in straight back-and-forth strokes. Circular motions create visible swirl marks on dark-colored cars. Start at the roof, move to windows, then panels, and finish with the lower body.
Use a separate mitt for the lower panels and wheel wells. Road grime is heaviest there. A dedicated mitt or sponge keeps that abrasive material away from your door panels and hood.
Dry immediately with a microfiber drying towel. Air drying leaves water spots, especially in areas with hard water. Pat or drag gently rather than rubbing.
“Use a separate sponge or cloth for wheels to avoid picking up the grit they accumulate. Wash in the shade and use a car-wash soap formulated for cars.” Consumer Reports
One underrated benefit of safe hand washing techniques: it puts your hands on every panel. You will feel bubbling clear coat, early rust bubbles under trim, or paint chips you would never notice from a distance. That early problem detection is genuinely valuable. Catching a small rust spot before it spreads saves hundreds in bodywork.
Pro Tip: Add a single capful of quick-detailer spray to your drying bucket rinse water. It adds just enough lubrication to reduce drag on the paint surface while drying and leaves a light shine.
Paint decontamination: Removing embedded contaminants chemically and mechanically
After washing, decontaminating your paint with chemical and mechanical steps transforms “clean” into genuinely pristine. This is one of the most skipped steps in the average enthusiast’s routine and one of the most impactful.
Step 1: Chemical decontamination with iron fallout remover
Work on a cool, shaded panel.
Spray the iron remover generously across the panel.
Watch for the reactive color change as the formula turns purple or red while dissolving ferrous particles.
Wait 3 to 5 minutes. Never let the product dry on the paint.
Rinse thoroughly before moving to the next section.
Step 2: Mechanical decontamination with a clay bar or clay mitt
Fold your clay bar flat or prep your clay mitt.
Lubricate the panel generously with a clay lubricant or quick detailer.
Work in straight overlapping passes, never circular.
Fold the clay frequently to expose a clean surface. If you drop it, throw it away.
Wipe the residue off with a clean microfiber towel.
Method | What it removes | Risk if skipped |
Iron fallout remover | Embedded brake dust, rail dust, metallic particles | Heavy clay loading, paint marring |
Clay bar / clay mitt | Bonded sap, overspray, industrial fallout | Micro-scratches under wax, dull finish |
The chemical step first reduces the load on your clay bar substantially. That means less friction, less chance of marring, and a bar that lasts longer. The paint decontamination steps always run in that order for a reason.
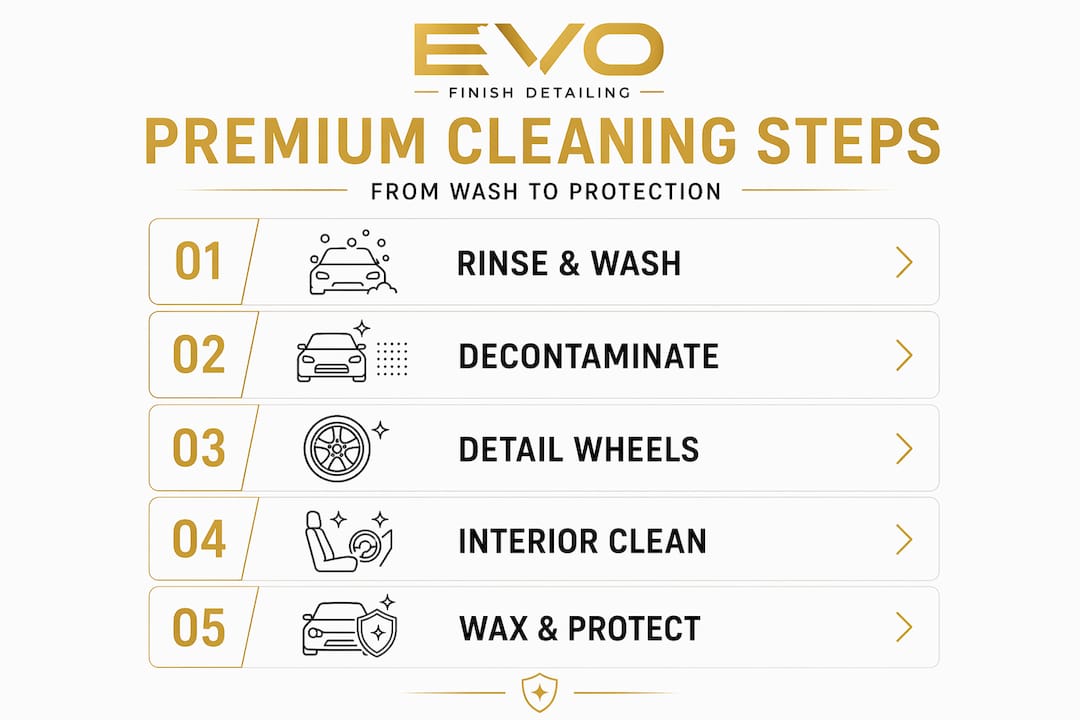
Detailing wheels and tires for a complete premium clean
With paint rejuvenated, it is time to focus on your vehicle’s often-neglected wheels and tires. Brake dust is corrosive and bonds to alloy surfaces quickly. Skipping proper wheel care leaves a car looking unfinished regardless of how good the paint looks.
Best practices for wheels and tires:
Match your cleaner to your wheel material. Alloy wheels need a pH-balanced cleaner. Chrome wheels require a gentler formula. Painted wheels can handle a slightly stronger product. Using the right cleaner matters more than how hard you scrub.
Use dedicated wheel brushes. A soft barrel brush for spokes, a flat brush for the face, and a lug nut brush for tight spaces. Wheel brushes should never touch your car’s paint.
Clean tires with mild soap and water. Heavy solvent-based tire cleaners degrade rubber over time. Mild soap removes grime effectively without shortening tire life.
Avoid silicone-based tire dressings. They sling onto your paint at highway speeds and attract road grime that makes tires look dirty again within days. Water-based tire dressings last longer and stay put.
Use a completely separate mitt or sponge for wheels. Brake dust and tar from wheels can cause serious scratching if transferred to paint surfaces during washing.
Pro Tip: Apply your wheel cleaner before you start washing the rest of the car. Let it dwell while you set up your buckets. By the time you are ready to rinse wheels, the product has already broken down the heavy brake dust, reducing the scrubbing needed.
Interior cleaning: Methodical top-to-bottom detailing for a premium cabin finish
While the exterior shines, your car’s interior deserves equal premium attention through detailed cleaning protocols. A meticulous interior routine is a core part of any serious luxury car cleaning guide.
Start high and work down. Begin with the headliner, sun visors, and top of the dashboard. Dust and particles fall downward, so cleaning from the top prevents recontaminating surfaces you have already cleaned.
Vacuum all fabric surfaces, floor mats, and seat crevices. Use a crevice tool for seat seams where crumbs and grit collect. Vacuuming before wet cleaning is critical.
Clean the dashboard and hard surfaces with a lightly sprayed microfiber cloth. Spray the cleaner on the cloth, not directly on the surface. Direct spraying sends product into vents and gaps.
Apply leather cleaner in small sections using a foam applicator. Work it in gently with a circular motion. Wipe off the residue with a clean microfiber cloth before it dries.
Avoid saturating leather. Excess moisture softens stitching and can cause long-term cracking. Less is more with leather conditioner and cleaner.
Finish with interior glass. Use an ammonia-free glass cleaner and a dedicated glass microfiber cloth. Wipe in vertical strokes on one side and horizontal strokes on the other so you can identify which side any streaks are on.
Key interior cleaning products to use:
Plastic and vinyl cleaner (avoid silicone-based products that cause glare on dashboards)
Dedicated leather cleaner and leather conditioner
Ammonia-free glass cleaner
Soft detailing brushes for air vents and trim gaps
Following a structured interior cleaning routine makes a measurable difference in how long results last.
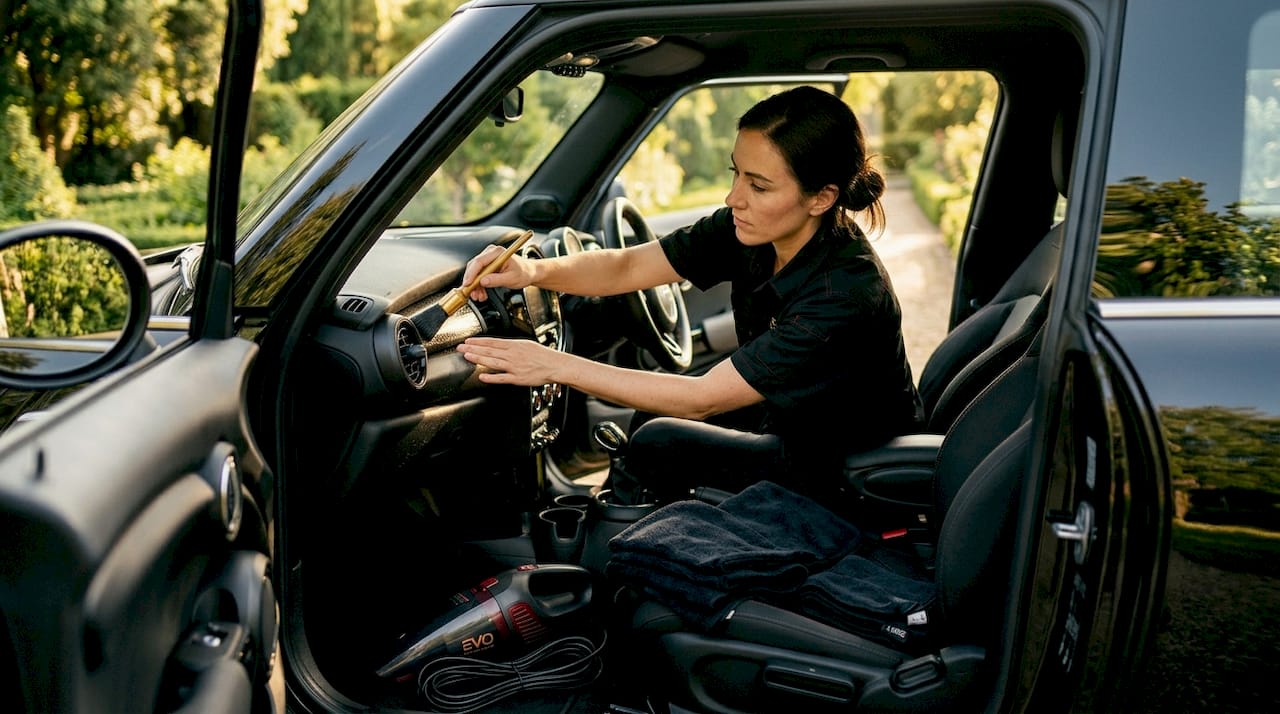
Pro Tip: Use a soft detailing brush to dust air vents before vacuuming. Brushing loosens the built-up dust so the vacuum pulls it away cleanly rather than pushing it deeper into the fins.
Waxing and paint protection: Final steps to preserve premium finish
Once cleaned inside and out, waxing seals your car’s finish, locking in that premium look for months to come. This final phase of the best auto cleaning methods is where protection meets appearance.
Confirm the paint surface is cool and shaded. Apply wax only when the paint is cool to the touch. Warm paint causes wax to bind unevenly and streak.
Apply wax in small sections using a foam applicator pad. Work one panel at a time. Spreading wax across the entire car before buffing leads to residue that hardens and streaks.
Use thin, even coats. More wax does not mean more protection. A thin, even coat bonds better and buffs off cleaner.
Buff as soon as the wax hazes. The haze stage is the moment the wax has set enough to remove. Waiting too long makes it significantly harder to buff off without residue.
Keep wax off plastic trim and rubber seals. Wax leaves a white residue on porous surfaces that is tedious to remove. Use painter’s tape or a dedicated trim product to protect those areas.
Repeat every 2 to 3 months. Regular waxing builds a cumulative protective layer, making each application easier and extending the life of your paint.
Pro Tip: After buffing your final panel, run a clean microfiber cloth across all surfaces in strong raking light. Any missed wax residue or smearing will show up immediately under that angle, before it has a chance to harden.
Pairing wax with professional waxing techniques such as a ceramic coating topcoat extends protection from months to years.
Why many enthusiasts underestimate chemical decontamination and what actually works
After working with hundreds of vehicles, we have seen a clear pattern. Enthusiasts who skip iron fallout remover and go straight to a clay bar are working harder and getting worse results. They blame the clay for marring the paint, when the real issue is that they are dragging un-dissolved metallic particles across the surface mechanically.
Professionals use iron removers first to dissolve ferrous contamination chemically before touching the paint with any abrasive tool. This is not a preference or a luxury step. It is the correct sequence for a reason. Skipping it means your clay bar is doing double duty on contamination it was never designed to handle efficiently.
The second thing most enthusiasts get wrong is timing. Timing management prevents the most common and frustrating problems in detailing: soap drying on panels in direct sun, wax streaking because it was left too long, and water spots from air drying. These are not skill issues. They are sequencing and environment issues. Work in the shade, work in sections, and respect the product’s dwell times.
The enthusiasts who get genuinely great results are not necessarily using more expensive products. They are following a disciplined sequence and managing their environment. Understanding the difference between chemical and mechanical professional paint decontamination tips elevates your work from hobbyist to expert level.
Elevate your auto care with Evo Finish mobile detailing services
Following these premium vehicle care tips gives your vehicle a strong foundation, but there are times when professional hands make all the difference. Whether your paint needs correction, your leather needs conditioning, or you simply want a flawless detail without spending your weekend doing it, we bring the full service to you.
Evo Finish provides meticulous mobile detailing services for car enthusiasts who demand lasting protection and guaranteed satisfaction. Our exterior refinement detail services cover everything from paint decontamination to wax and ceramic coating protection. Our interior reset detail options restore your cabin to a showroom-quality finish. We use premium products and proven techniques on every vehicle, with no shortcuts. Ready for a flawless result without the effort? Book your detail today and we will come to you.
Frequently asked questions
What is the safest method to hand wash a car to avoid swirl marks?
The safest method uses the two-bucket system with grit guards, washing in the shade with pH-neutral car shampoo, a microfiber wash mitt, and drying with a microfiber or chamois towel to prevent water spots and scratches.
How often should I chemically decontaminate my car’s paint?
For daily-driven vehicles, chemical decontamination every 3 to 6 months with an iron remover is ideal to maintain a contaminant-free surface before any mechanical claying or wax application.
Can I wax my car immediately after washing?
No. Wax applied on warm paint risks uneven bonding, streaks, and residue that are difficult to remove. Always wait until the paint is cool to the touch and fully shaded before starting.
Why is it important to use a separate sponge or mitt for wheels?
Wheels collect brake dust and abrasive grime that can scratch paint if transferred to body panels. A dedicated wheel mitt keeps those contaminants contained and protects your exterior finish throughout the entire wash process.
Recommended
Comments