


Car Upholstery Cleaning Tips for a Fresh Interior

Most car owners tackle upholstery cleaning with the wrong products, too much water, or aggressive scrubbing that makes the problem worse. The result? Stains that set deeper, fabric fibers that fray, and in serious cases, headliners that sag permanently. Good car upholstery cleaning tips go beyond “spray and wipe.” They account for the specific material you’re working with, the right tools, and how much moisture is safe to apply. This guide walks you through every critical step, from the first pass with a vacuum to preventive care that keeps your seats looking fresh long after cleaning day.
Table of Contents
Key takeaways
Point | Details |
Vacuum before anything else | Removing loose dirt first makes every cleaning product more effective and prevents grinding grime into fibers. |
Match your cleaner to the material | Leather, fabric, and vinyl each require specific products. Using the wrong one causes damage, not just poor results. |
Moisture control is everything | Over-wetting fabric seats and headliners causes sagging and watermarks. Damp cloths and immediate blotting are the safe approach. |
Steam cleaning needs precision | Short bursts on small sections with immediate wiping is the only safe way to use steam on fabric seats. |
Prevention beats deep cleaning | Weekly vacuuming, fabric protectors, and seat covers dramatically reduce how often you need a full interior clean. |
1. Start with thorough vacuuming
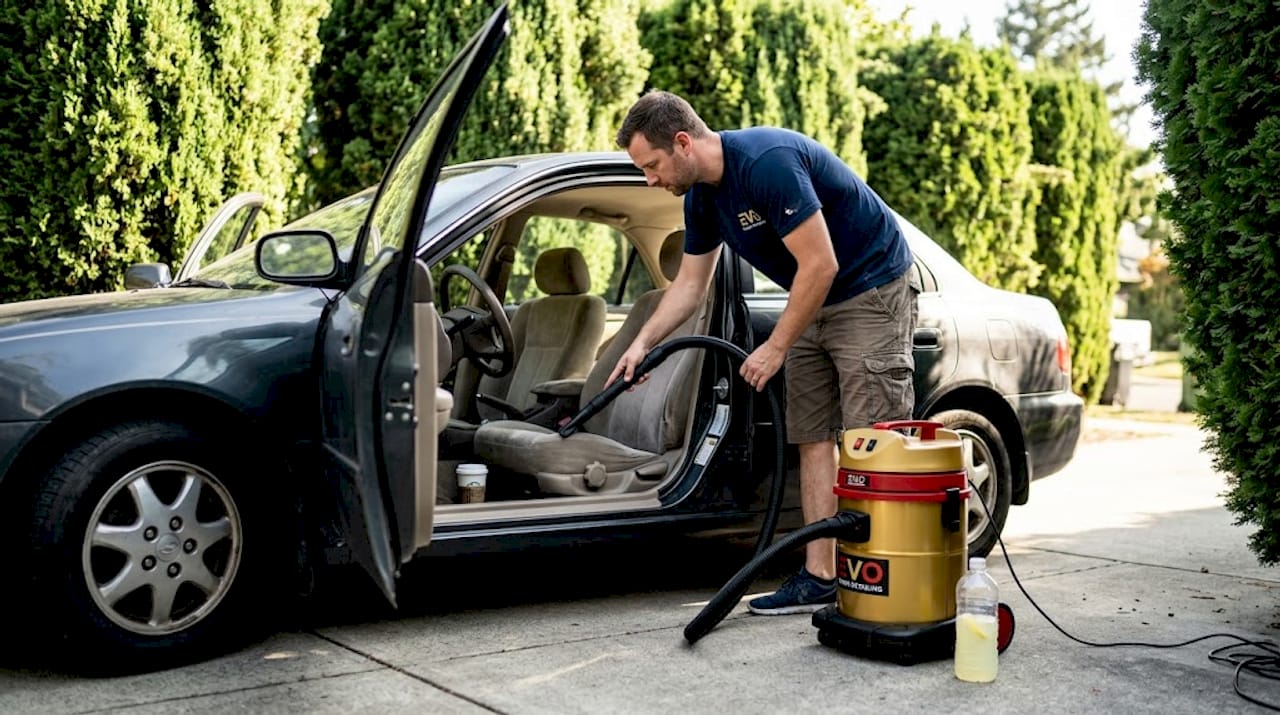
Before you touch a single cleaning product, vacuum every inch of the upholstery. This step is non-negotiable. Vacuuming with crevice and upholstery attachments removes the loose dirt, crumbs, and debris that would otherwise turn into mud the moment any liquid hits the surface.
The attachments matter more than most people realize. A crevice tool reaches the tight seams where seat cushions meet the backrest, which is exactly where pet hair and grit accumulate. A soft brush attachment lifts debris from the seat surface without scratching. Cordless handheld vacuums with car-specific tools are especially effective because you can maneuver them easily between seats and under headrests.
Work in overlapping passes. Start at the top of each seat and move downward so debris falls to areas you haven’t cleaned yet. Don’t rush this step. A thorough vacuum means your cleaner works on actual stains and soiling, not a layer of surface grit.
Use the crevice tool along all seat seams and between cushion gaps
Use the soft brush attachment across flat seat surfaces
Vacuum floor mats separately before placing them back
Aim for at least one full pass per seat, top to bottom
Pro Tip: Run the vacuum over your seats before every car wash, not just during deep cleans. Keeping surface debris low reduces how often you need a full scrub.
2. Use material-specific cleaners
This is where most DIY car upholstery cleaning goes wrong. Different upholstery materials require specific formulations and there is no universal solution that works safely across all of them. Using a general household cleaner or laundry detergent on leather or fabric can strip protective coatings, discolor the material, or leave a residue that attracts more dirt.
Here’s how to match your product to your material:
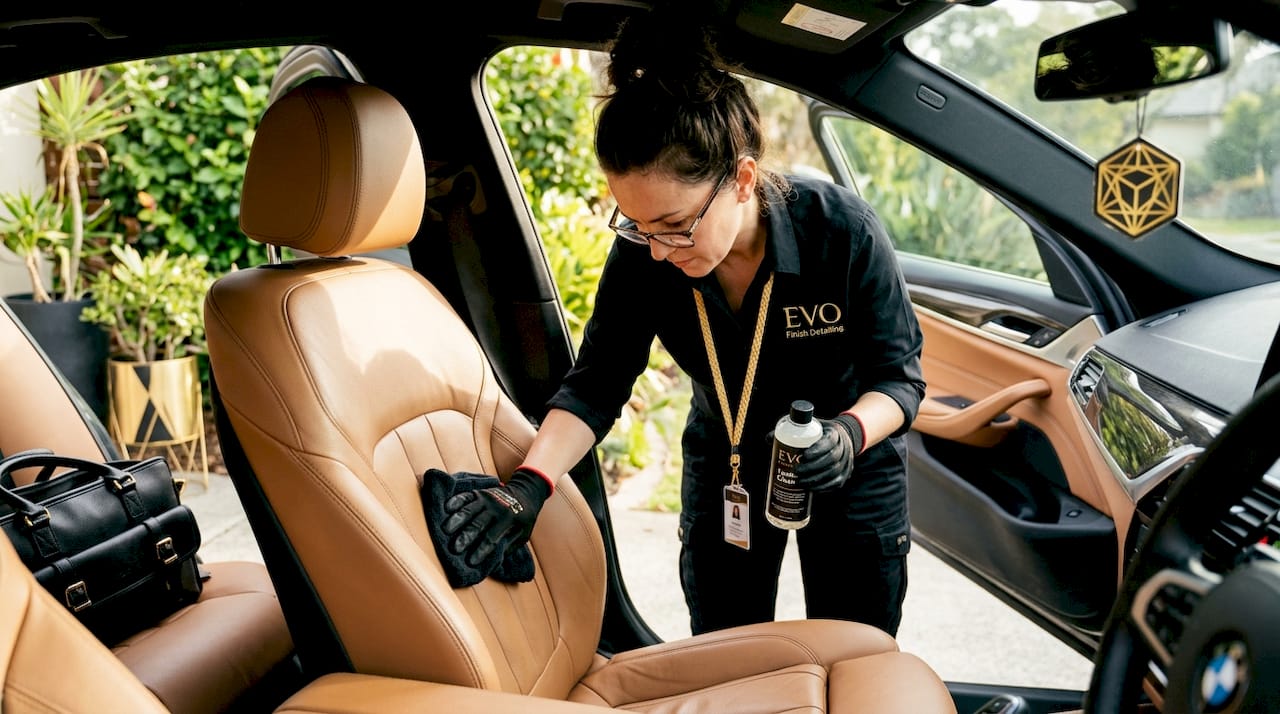
Leather seats: Use a dedicated leather cleaner, applied with a soft microfiber cloth. Follow with a leather conditioner to restore moisture and prevent cracking. Never use anything alkaline or abrasive.
Fabric/cloth seats: An upholstery-specific cleaner is your go-to. Look for a foam-based product that lifts stains without saturating the fabric. Test it in a hidden spot first.
Vinyl and plastic surfaces: A mild, all-purpose interior cleaner works well here. Vinyl is more forgiving than fabric or leather, but it still reacts badly to harsh solvents.
Headliners: These require extra care. A very lightly dampened cloth with a gentle cleaner is the only safe approach. Avoid spraying directly onto the headliner.
Harsh household cleaners damage leather surfaces and sensitive finishes, which is why car-surface-appropriate products exist. If you’re not sure what your seats are made of, check your vehicle owner’s manual. It will list the upholstery type and often recommend approved cleaners.
3. Control moisture carefully
Over-wetting is one of the most damaging mistakes in any car interior cleaning guide. When fabric absorbs too much water, it takes a long time to dry, which creates conditions for mold and mildew. Worse, excessive moisture can permanently sag headliners by weakening the foam adhesive that holds them in place.
The rule is simple: damp, not wet. Your cloth or brush should feel slightly moist when you press it to your skin, not dripping. Blot the surface rather than dragging the cloth across it. Dragging pushes liquid deeper into the fabric and can spread a stain instead of lifting it.
Using distilled or filtered water is a smart detail that most guides skip. Tap water contains minerals that can leave white deposits on fabric once it dries. Distilled water eliminates that problem entirely.
Wring out cloths and brushes thoroughly before applying to seats
Work in small sections to maintain control over moisture levels
Blot immediately after applying any cleaner
Leave doors and windows open after cleaning to speed air drying
Point a fan at cleaned areas if you’re working indoors
Pro Tip: After cleaning fabric seats, press a dry microfiber cloth firmly against the surface and hold it for 10 seconds. If it comes away soaked, you’ve used too much moisture. Repeat the press-and-check after blotting until the cloth stays mostly dry.
4. Use steam cleaning safely
Steam cleaning is genuinely effective for fabric seats and carpets, but only when applied with precision. Steam cleaning works best in short bursts on small sections, followed immediately by wiping with a dry microfiber cloth. That combination lifts embedded dirt and kills bacteria without saturating the foam beneath the fabric.
The most common mistake is holding the steam nozzle in one spot too long. Continuous steam application saturates foam and finishes, leading to the same moisture damage problems described above. Work in sections no larger than a dinner plate, steam for two to three seconds, then wipe immediately.
Step-by-step process for safe steam cleaning:
Test the steamer on a hidden area of the seat, like the underside of the cushion, and wait 10 minutes to check for any discoloration or damage
Set the steamer to a medium setting, not the maximum output
Hold the nozzle two to three inches from the surface
Apply steam in a short two-second burst
Immediately wipe the area with a clean, dry microfiber cloth
Move to the next section and repeat
Leave all doors open and run a fan to fully dry the interior
Material | Steam safe? | Notes |
Fabric/cloth | Yes, with care | Short bursts only. Dry immediately. |
Carpet | Yes, with care | Work small sections. Air dry fully. |
Leather | Not recommended | Check manufacturer approval first. |
Vinyl | Not recommended | Heat can warp or crack vinyl surfaces. |
Headliner | No | Moisture weakens adhesive backing. |
5. Use gentle techniques for stain removal
Removing stains from upholstery requires patience and the right motion. Aggressive scrubbing grinds dirt deeper into fabrics and can break down fibers, leaving a rough, faded patch where the stain used to be. The goal is to lift the stain out, not push it down.
Follow these steps for safe, effective stain removal:
Blot the stain immediately to absorb as much of it as possible before it sets
Apply your chosen cleaner to a clean microfiber cloth, not directly to the seat
Work from the outer edge of the stain toward the center to prevent spreading
Use a gentle dabbing motion rather than circular scrubbing
Let the cleaner sit on the cloth-to-fabric contact point for 30 seconds before blotting
Blot with a dry cloth to absorb the lifted stain
Repeat with a fresh section of cloth until the stain is gone
For stubborn stains, give the cleaner more dwell time. Apply it to the cloth, press it against the stain, and let it sit for two to three minutes before dabbing. Don’t increase pressure or speed. More time, not more force, is the answer.
6. Apply preventive care and regular maintenance
The best car upholstery maintenance tips aren’t about cleaning. They’re about reducing how often you need to clean in the first place. A few consistent habits make a noticeable difference in how long your interior stays fresh.
Protective seat covers and kick mats are especially valuable if you have kids or pets. They take the daily abuse so your actual upholstery doesn’t have to. For pet owners, wiping your dog’s paws before they jump in is one of the highest-impact habits you can build. Muddy paw prints on fabric seats are genuinely difficult to fully remove.
Beyond physical protection, here’s what your regular routine should include:
Vacuum seats and floor mats once a week or after any trip that involved significant activity
Apply a fabric protector spray to cloth seats every three to six months
Condition leather seats with a leather conditioner every 60 to 90 days to prevent cracking
Use a sunshade whenever parked in direct sunlight. UV exposure fades and dries out both fabric and leather faster than most people expect.
Avoid eating greasy or heavily sauced foods in the car. Grease stains on fabric are among the hardest to fully lift.
Keep a small pack of interior-safe cleaning wipes in the glove box for quick response to fresh spills
For a deeper look at cleaning car carpets and seats as part of your regular routine, Evofinish covers exactly why consistent care makes a measurable difference in your vehicle’s value and comfort over time.
My honest take on upholstery care
I’ve seen it over and over: someone spends hours scrubbing their seats with the wrong product or soaks the fabric trying to get one stain out, and they end up with a bigger problem than they started with. In my experience working with car interiors, the single biggest mistake people make is assuming more effort equals better results.
It doesn’t. Controlled, methodical cleaning outperforms aggressive scrubbing every single time. A damp cloth used with the right cleaner and proper blotting technique will out-clean a soaking-wet brush worked hard for 20 minutes. The fabric doesn’t respond to force. It responds to chemistry and patience.
I also think people undervalue regular maintenance compared to infrequent deep cleaning. A five-minute vacuum once a week keeps dirt levels so low that deep cleaning becomes a twice-a-year task instead of a monthly emergency. That’s less wear on your upholstery, less time spent cleaning, and a consistently better-looking interior. That’s the trade most car owners should be making.
— EVO
Let Evofinish handle the heavy lifting
If you’ve got ground-in stains, pet odors embedded in the fabric, or leather that needs serious conditioning, professional detailing equipment makes a real difference. At Evofinish, we use precision tools and professional-grade products that go well beyond what’s available over the counter.
Our mobile detailing service comes directly to you, so there’s no drop-off, no wait, and no hassle. From meticulous interior cleaning and fabric treatment to ceramic coating and paint correction, we handle every aspect of your vehicle’s care. Guaranteed satisfaction on every detail. Ready to see what a flawless interior looks like? Book your detail today and let us take it from here.
FAQ
What is the best first step for cleaning car upholstery?
Always vacuum thoroughly before applying any cleaner. Removing loose debris first prevents dirt from spreading when liquid is applied, making your cleaner far more effective.
Can I use household cleaners on car seats?
No. Household cleaners like laundry detergent can damage fabric fibers and leather coatings. Always use cleaners formulated specifically for the upholstery material in your vehicle.
Is steam cleaning safe for all car seats?
Steam cleaning is safe for fabric seats and carpets when done with short bursts and immediate wiping. It is not recommended for leather, vinyl, or headliners without manufacturer approval.
How do I prevent watermarks after cleaning fabric seats?
Use distilled water instead of tap water, apply moisture sparingly with a damp cloth, and blot the area dry immediately after cleaning. Good airflow during drying helps prevent mineral deposits from forming.
How often should I clean car upholstery?
Vacuum weekly and spot-clean spills immediately. A full interior clean every one to three months is sufficient for most drivers, with preventive care like seat covers and fabric protector reducing the frequency needed.
Recommended
Comments